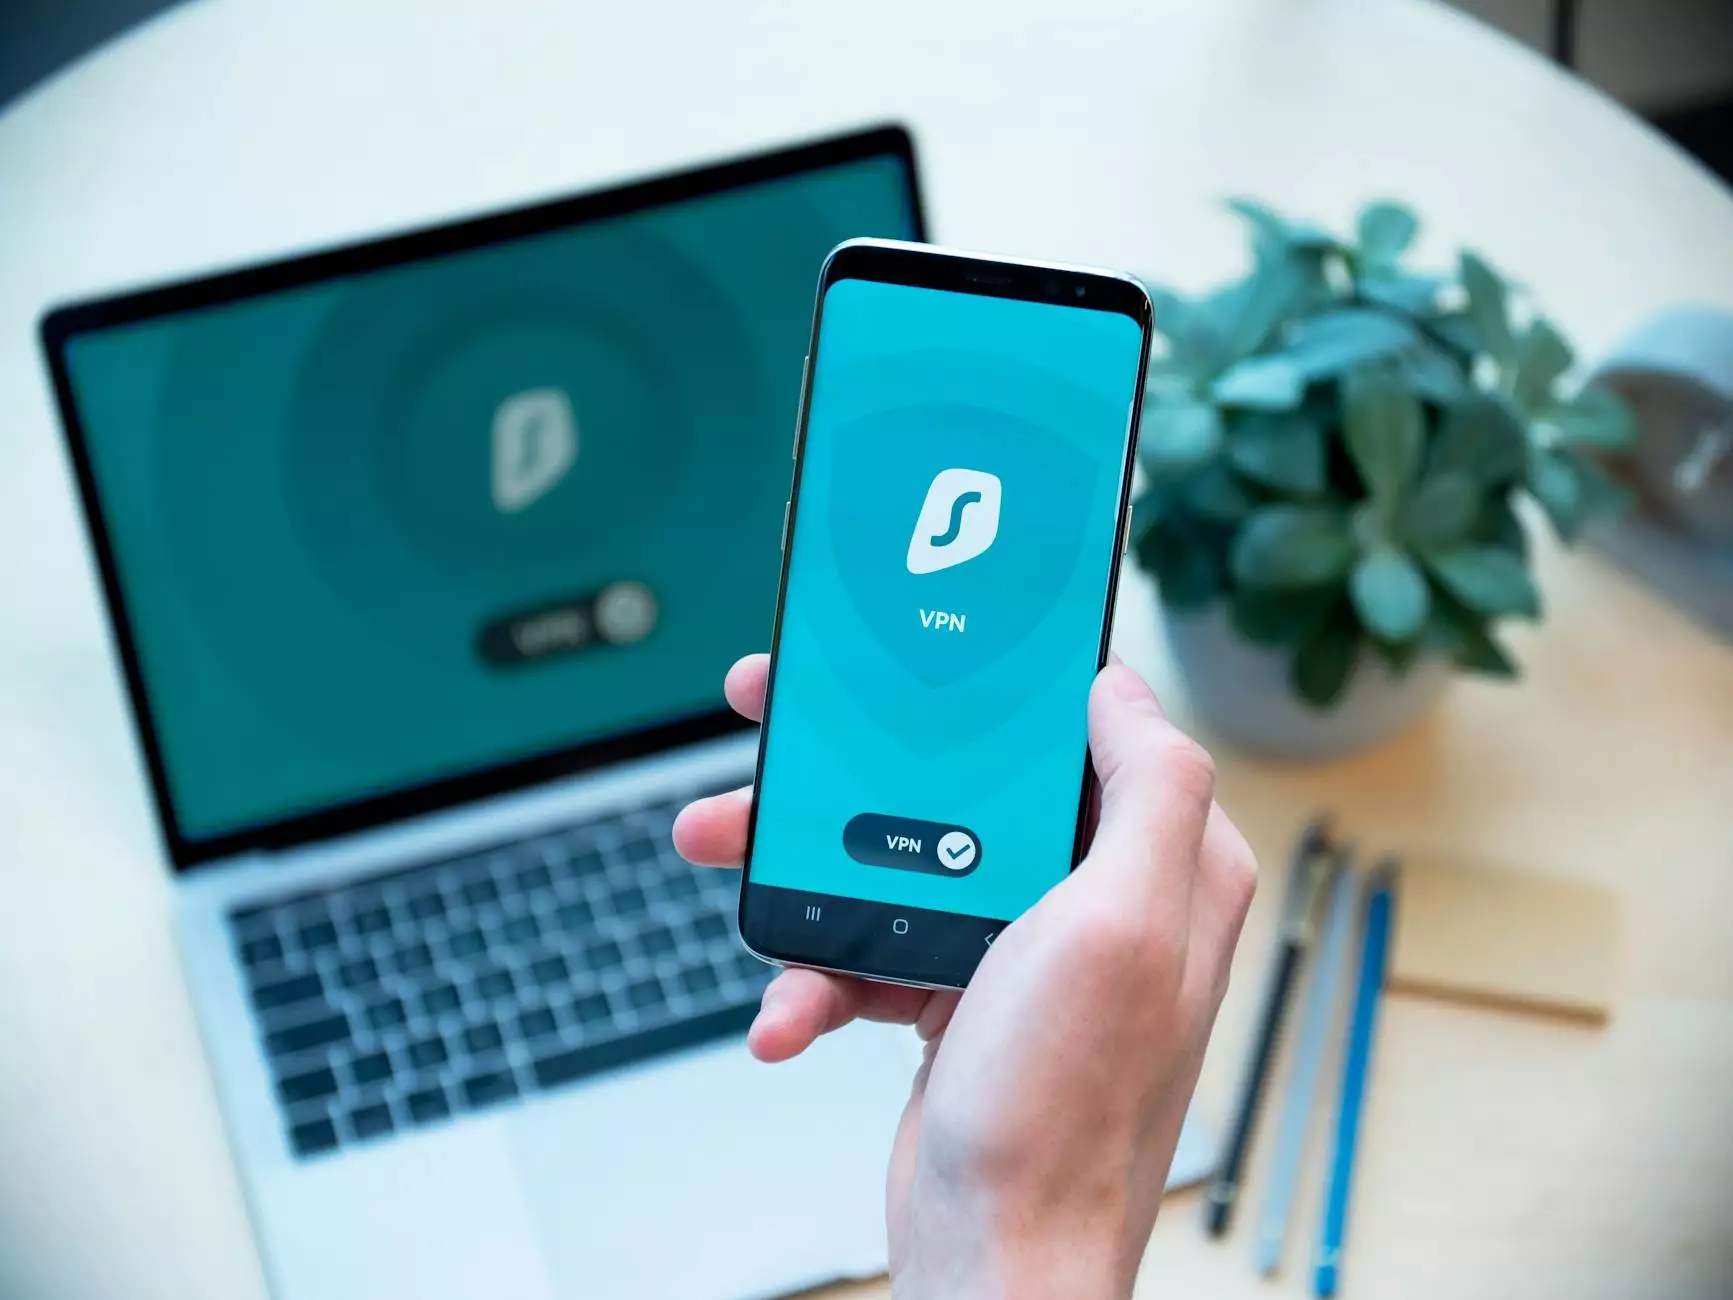
How to Set Up VPN on Mac: A Comprehensive Guide
In today’s fast-paced digital world, ensuring your online privacy and security is paramount. For Mac users, one of the best ways to achieve this is by utilizing a VPN (Virtual Private Network). In this guide, we will walk you through the entire process of setting up a VPN on your Mac, helping you regain control over your internet activities and maintain anonymity online.
What is a VPN and Why Do You Need One?
A VPN allows users to create a secure connection to another network over the Internet. It encrypts your internet connection, effectively shielding your data from prying eyes, including hackers and government agencies. Here are several compelling reasons to consider:
- Enhanced Security: Protects your data from cyber threats.
- Online Privacy: Ensures your browsing history remains undisclosed.
- Access to Restricted Content: Bypass geo-restrictions and enjoy global content.
- Safe Browsing on Public Wi-Fi: Safeguards your information when connected to unsecured networks.
Choosing the Right VPN for Mac
Before diving into the setup process, it’s essential to select the right VPN provider. Here are key elements to consider:
- Reputation: Look for reputable providers like ZoogVPN, which is known for reliability and robust security.
- Speed: Ensure the VPN offers fast connection speeds to maintain a seamless browsing experience.
- Compatibility: Confirm that the VPN supports macOS, ensuring a smooth installation.
- Customer Support: Opt for services that offer 24/7 support in case you encounter any issues.
Preparing for the Setup
Once you've chosen a suitable VPN, it’s time to prepare for the setup. Here’s a list of what you need:
- Active Subscription: Most reliable VPNs, including ZoogVPN, require a subscription.
- Internet Connection: A stable connection is necessary throughout the installation.
- Mac Device: Ensure your Mac is updated with the latest version of macOS for optimal performance.
Step-by-Step Guide to Set Up VPN on Mac
Step 1: Download the VPN Client
The first step in the VPN setup process is downloading the client application. Follow these steps:
- Visit the official website of your VPN provider, such as ZoogVPN.
- Locate the download link for the Mac client.
- Download the installation file and save it to your preferred location.
Step 2: Install the VPN Application
Now that you have the installation file, proceed with the installation:
- Open the downloaded .dmg file.
- Drag the VPN application icon into the Applications folder.
- Navigate to the Applications folder and open the VPN app.
Step 3: Launch the Application and Log In
Once installed, it’s time to log into the app:
- Open the VPN application.
- Enter your account credentials (username and password).
- Click on the “Log In” button to proceed.
Step 4: Choose Your VPN Server Location
After logging in, you’ll be presented with a list of server locations:
- Select a server location that meets your requirements (for instance, if you want to access US-based content, choose a server in the USA).
- Some VPNs offer specialty servers for streaming or high-speed activities.
Step 5: Connect to the VPN
It’s almost time to get started. To establish a connection:
- Click on the “Connect” button next to your selected server.
- Wait for the VPN to establish a secure connection (this usually takes a few seconds).
Step 6: Verify Your Connection
Ensuring you are securely connected is crucial:
- Visit a website that displays your IP address.
- Check if your IP address reflects the VPN server location instead of your actual location.
- If it does, congratulations! You have successfully set up your VPN on Mac.
Configuring Additional Settings for Optimal Performance
To enhance your VPN experience, consider adjusting additional settings within the application:
Enable Kill Switch
A Kill Switch is a critical feature that protects your data by disabling your internet connection if the VPN drops unexpectedly:
- Navigate to the settings menu in your VPN application.
- Locate the Kill Switch option and enable it.
- This ensures that you won’t accidentally expose your data without the VPN protection.
Selecting the Encryption Protocol
Choosing the right encryption protocol can affect both speed and security:
- Open the application settings.
- Look for the option labeled “Protocols” or “VPN Protocol”.
- For a balance of speed and security, consider using protocols like OpenVPN or IKEv2/IPSec.
Common Issues and Troubleshooting
While setting up a VPN on Mac is usually straightforward, you may encounter some issues. Here are common problems and solutions:
Error in VPN Connection
- Solution: Restart the VPN application and try connecting again. Ensure your internet connection is stable.
Slow Internet Speeds
- Solution: Switch to a different VPN server or try changing the VPN protocol in your settings for potential speed improvements.
Application Crashing
- Solution: Ensure your macOS and the VPN application are updated to the latest versions to avoid compatibility issues.
Conclusion
Setting up a VPN on your Mac is a fantastic way to enhance your online privacy and security. With this guide, you can confidently navigate the process of setup VPN on Mac, ensuring that your data remains protected from potential threats. Remember to choose a reliable VPN provider, like ZoogVPN, that suits your needs.
By utilizing the full potential of your VPN, you can enjoy a safer and more liberated online experience. Take the steps today to protect your digital life! For more information and support, explore the resources available on zoogvpn.com.